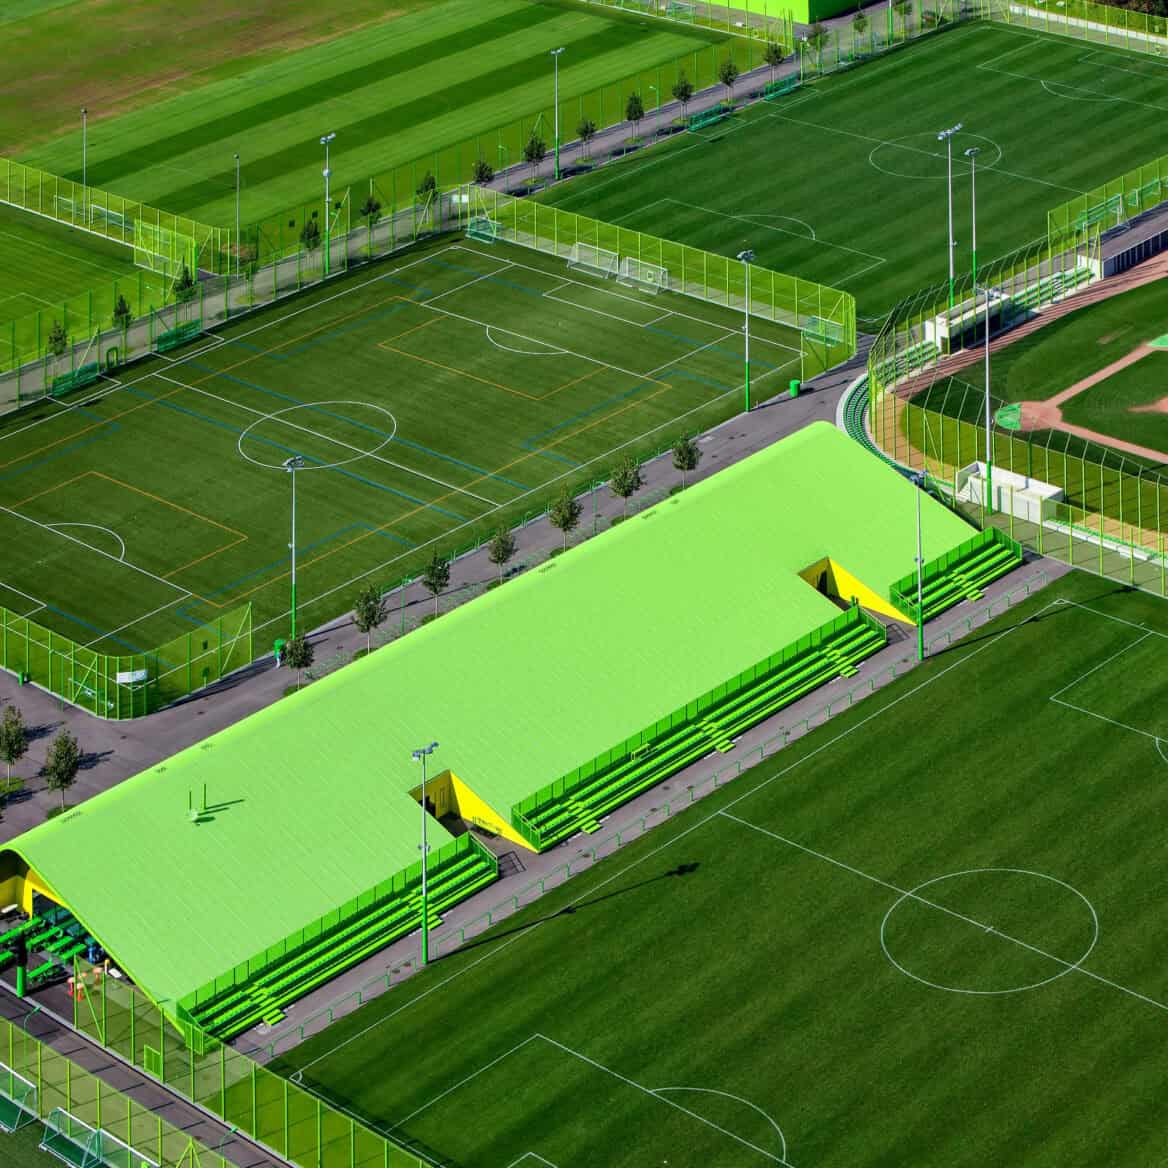
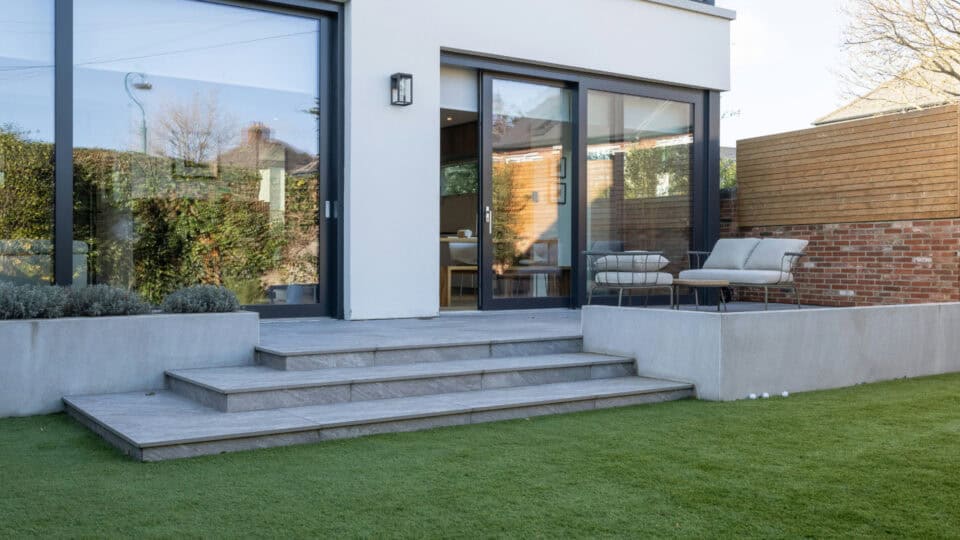
Why artificial grass?
Versatile, durable & long lasting
The Artificial Grass Guru range is fully porous and UV stabilised and is suitable for installation on soil, tiles, concrete slabs and waterproofing. The grass has holes pierced in it and is used for most outdoor artificial grass lawn installations on top of a soil sub-base.
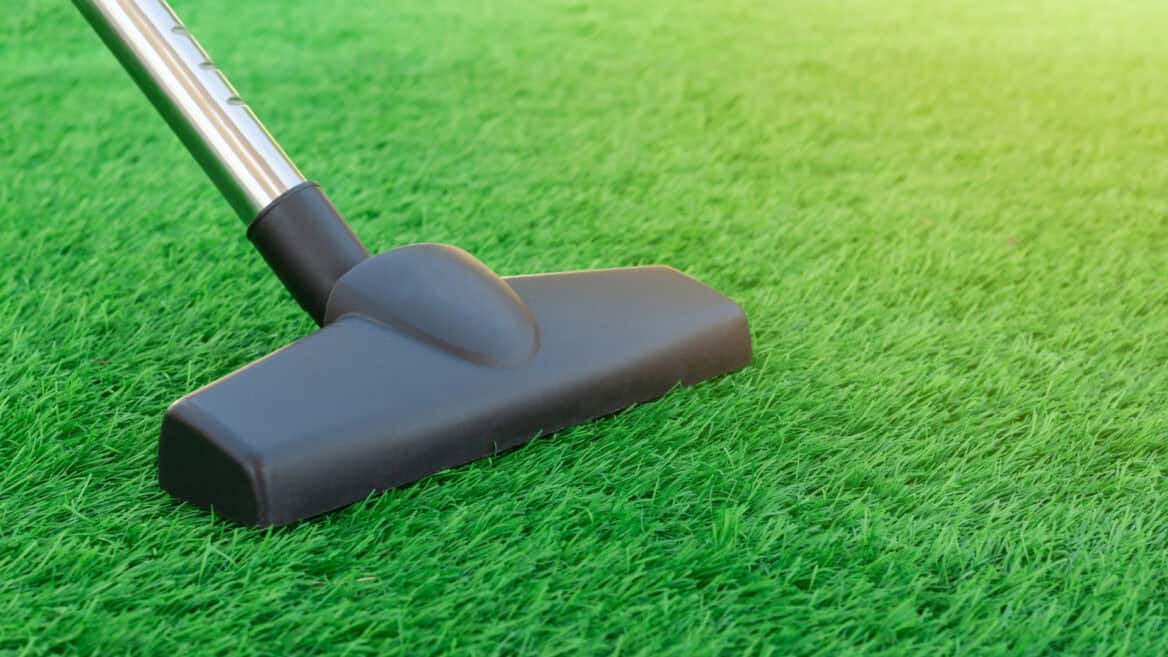
Convenient with minimal maintenance
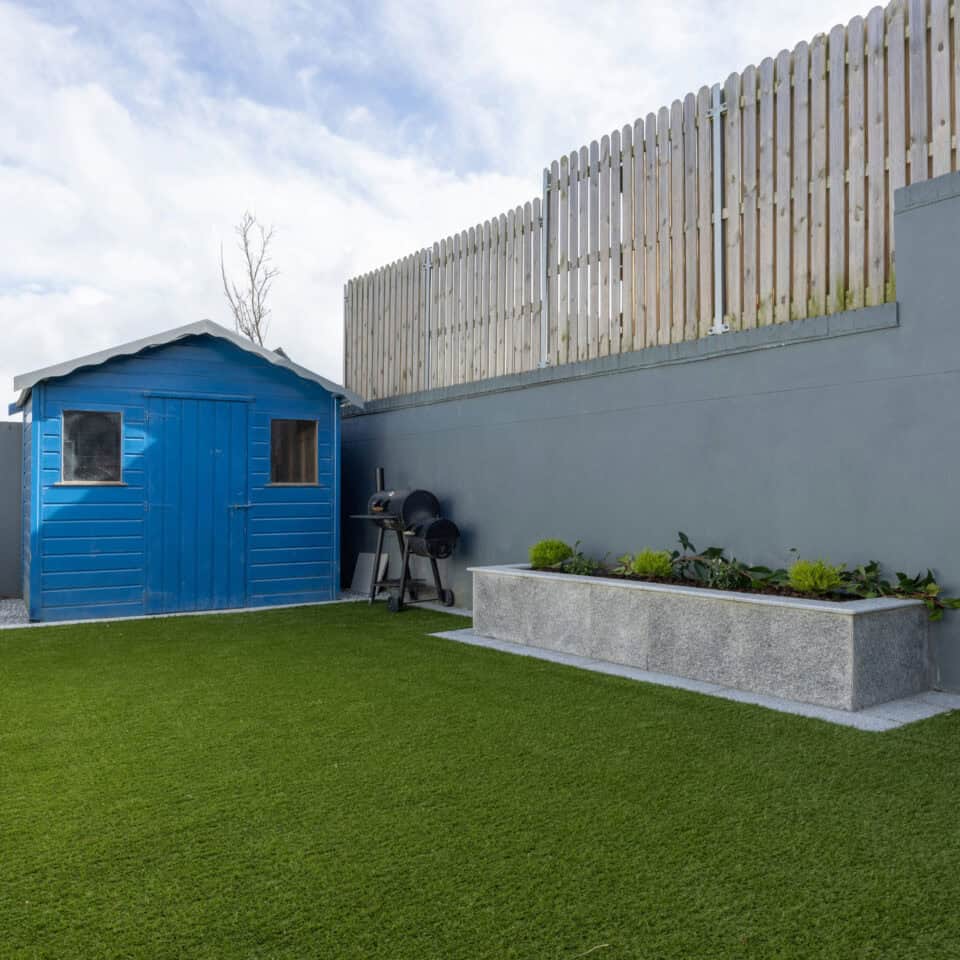
We want you to you to enjoy a NO MUD, NO MESS, NO WATERING lifestyle, enjoying a minimal maintenance product, while looking amazingly like “REAL GRASS”
Our process
Our simple proven process delivers stunning results each and every time.
Select your grass range
We select the optimal grass range for your specific space and requirements.
Assess installation type
Assess the area to determine the type e.g.:
Install
Your artificial grass is professionally installed by your own guru.
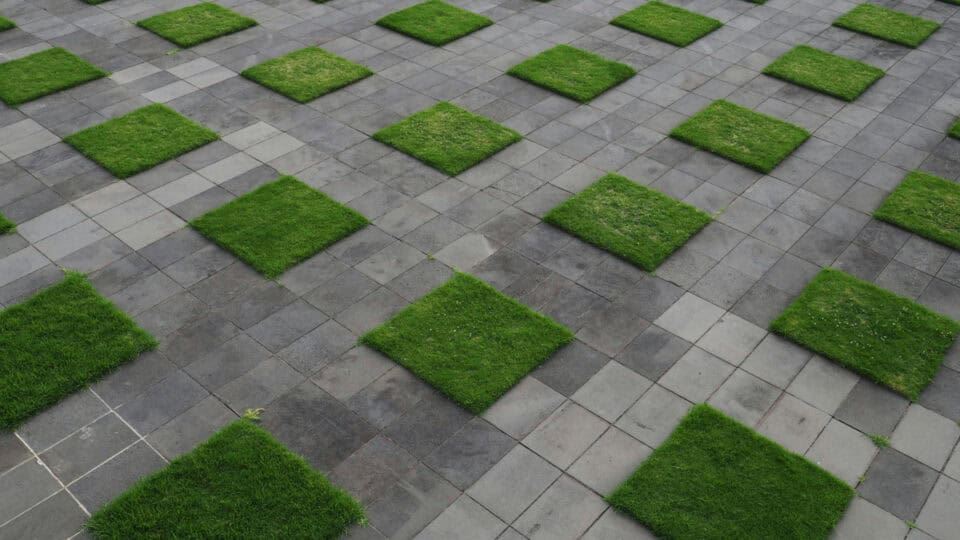
A. Landscape or soil application
Installation type: A
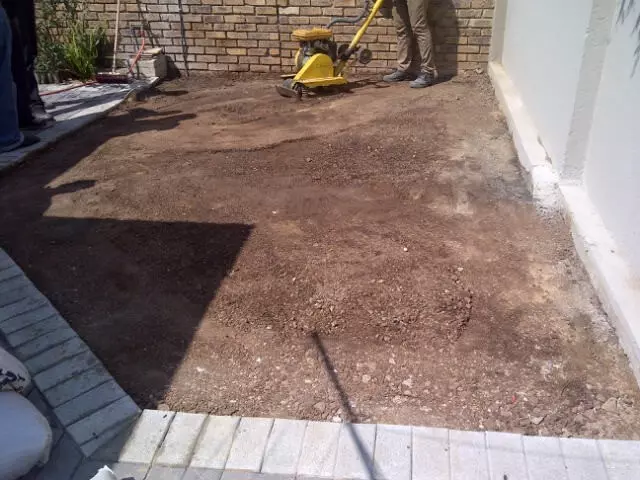
Step 1: Preparing the base
A. Landscape or soil application
Firstly we remove the existing grass or sand down to the required depth, clearing out any unwanted plants, rocks and growth as we go.
We then water, compact, and level the remaining soil. We do this so that we have a solid, smooth base to work with when adding the additional layers that sit beneath your artificial grass.
Step 2: Apply weed barrier
A. Landscape or soil application
- Specially chosen geotextile membrane to prevent the growth of weeds.
- We then apply and fit the weed barrier on the existing compacted base.
- This specially chosen geotextile membrane sheet is in place to prevent the growth of weeds across the whole base of the area being installed.
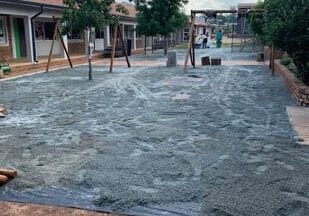
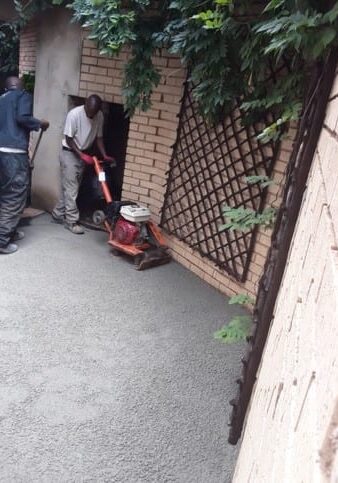
Step 3: Install aggregate base layer
A. Landscape or soil application
We then apply a crusher dust aggregate (a mixture of small rocks and dust) to form the new base.
This provides added stability and allows us to adjust the slope of the base to allow sufficient drainage underneath and on the surface of the artificial grass. This layer is then wet and compacted again to form the stable, solid sub base for the grass.
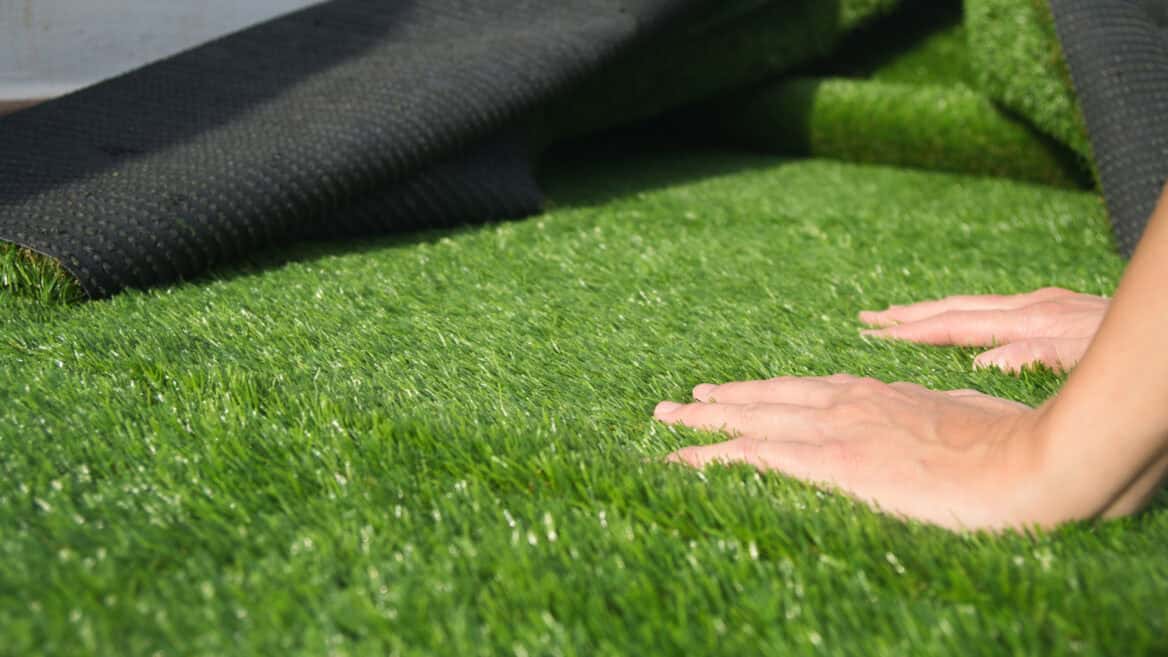
Step 4: Fitting your artifical grass
A. Landscape or soil application
The installation team then lays the Artificial Grass Product you selected according to the most effective and economical directional method as specified by both you the customer and our installer for maximum appeal and wear.
The grass is joined where necessary and secured around the edges as required.
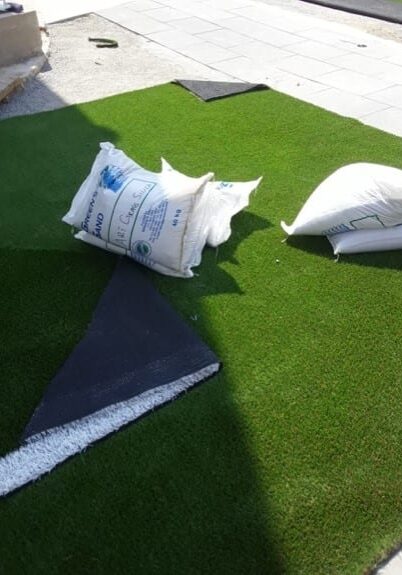
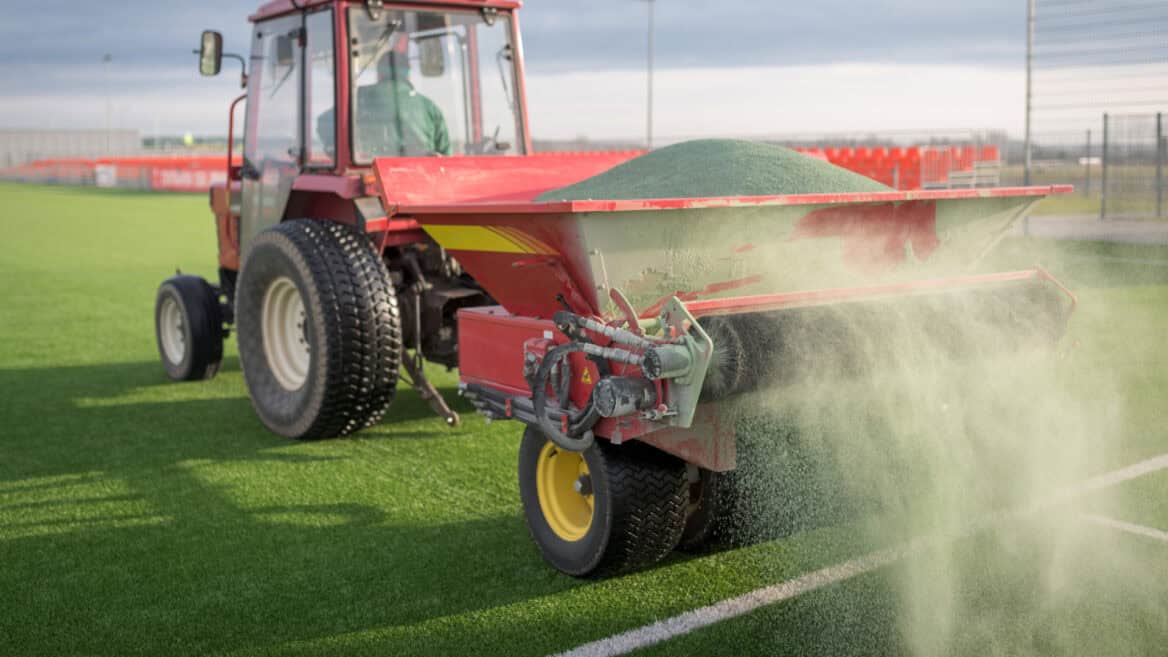
Step 5: Applying silica sand infill
A. Landscape or soil application
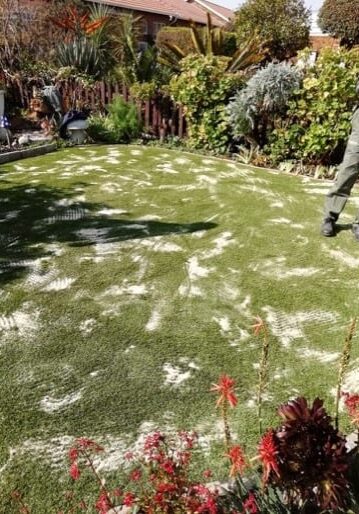
To provide exceptional stability and protection of the entire installation, a white silica sand infill is applied and then mechanically brushed into the pile of the grass. This product is an essential part of the installation process.
The silica sand not only helps to maintain the appearance of the lawn, it also acts as a ballast and ensures it will remain stabilised and prevents it moving or getting extremely hot when exposed to extremely hot weather.
Step 6: Cleaning site and handing over for inspection
A. Landscape or soil application
Our Team then cleans up the site and our Installation Supervisor inspects the installation , together, with the customer, to ensure that you are completely happy with the installation. You will then be required to complete a satisfaction sign-off letter to confirm your approval.
When it comes to laying an artificial grass, we’re highly skilled professionals, and the best in the industry at what we do.
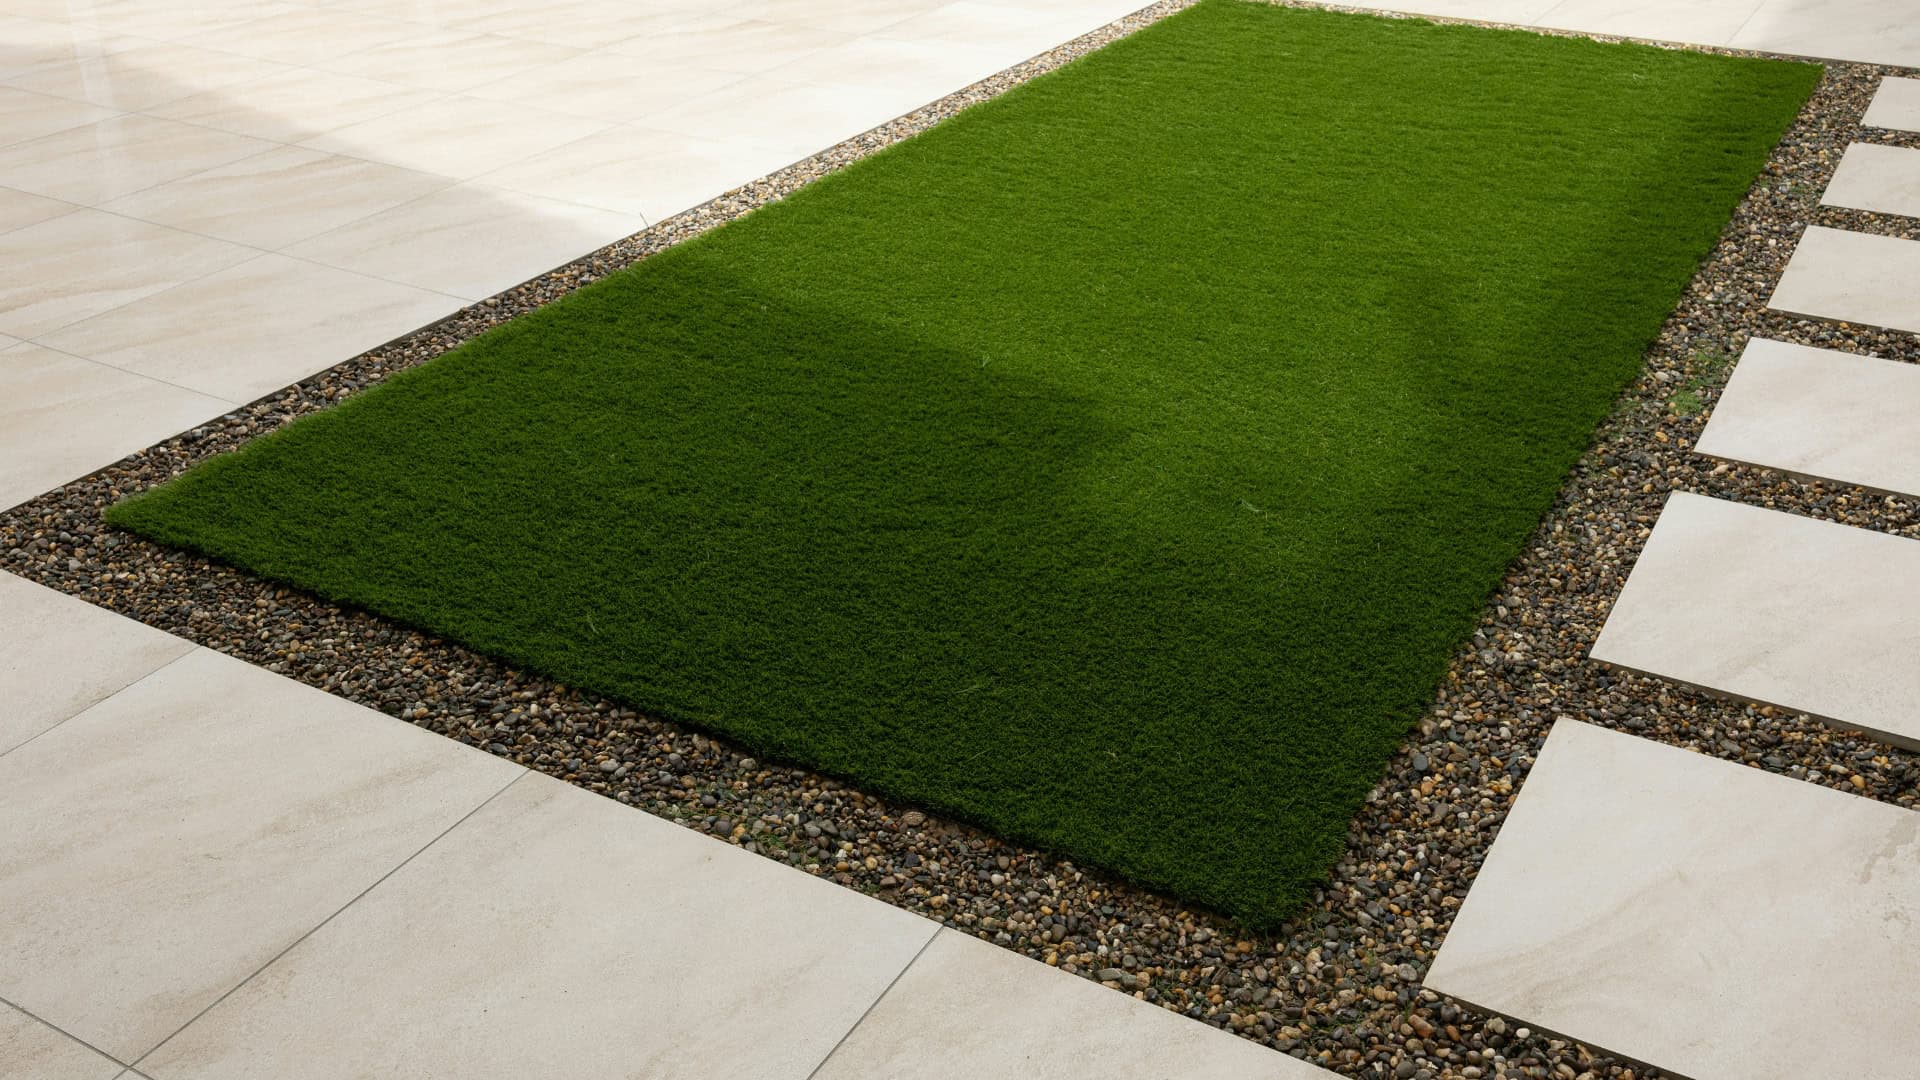
B. Cement screed, tile or stickdown application
Installation type: B
Step 1: Preparing the base
B. Cement screed, tile or stickdown application
Firstly, we remove the existing or damaged grass if applicable. We then screed or repair the sub frame area where necessary.
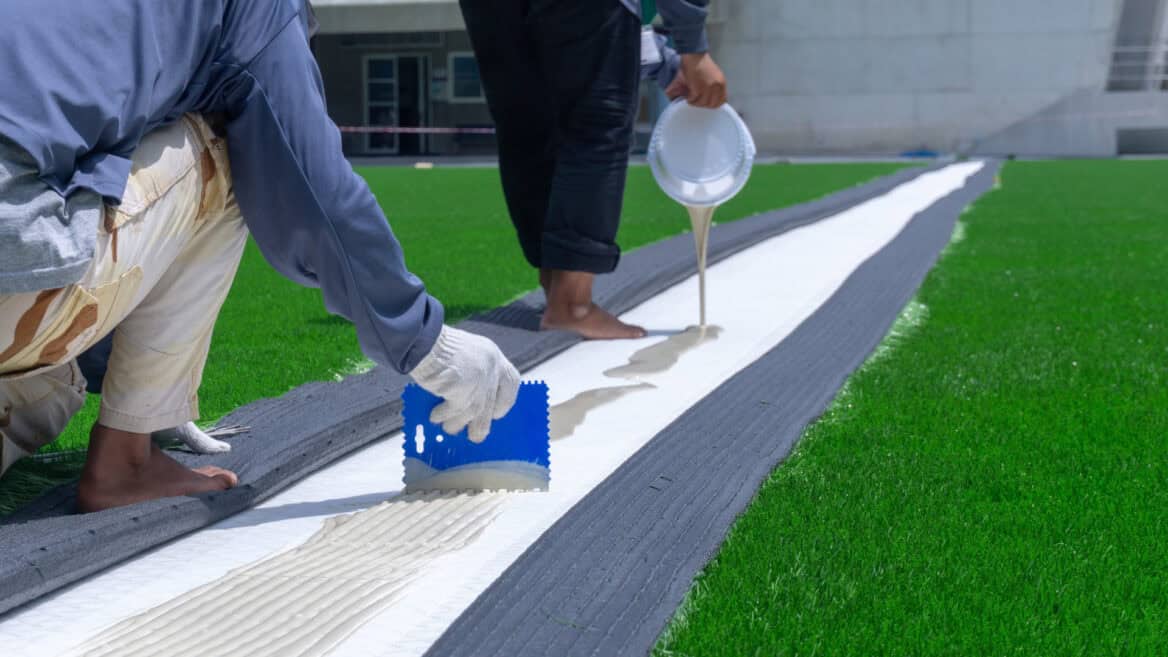
Step 2: Fitting your artificial grass
B. Cement screed, tile or stickdown application
The installation team then lays the Artificial Grass Product you selected according to the most effective and economical directional method as specified by both you the customer and our installer for maximum appeal and wear.
The grass is joined where necessary and trimmed to fit the sub frame area as required.
Step 3: Applying silica sand infill
B. Cement screed, tile or stickdown application
To provide exceptional stability and protection of the entire installation, a white silica sand infill is applied and then mechanically brushed into the pile of the grass. This product is an essential part of the installation process.
The silica sand not only helps to maintain the appearance of the lawn, it also acts as a ballast and ensures it will remain stabilised and prevents it moving or getting extremely hot when exposed to extremely hot weather.
Step 4: Cleaning site & handing over for inspection
B. Cement screed, tile or stickdown application
Our Team then cleans up the site and our Installation Supervisor inspects the installation , together, with the customer, to ensure that you are completely happy with the installation.
You will then be required to complete a satisfaction sign-off letter to confirm your approval.